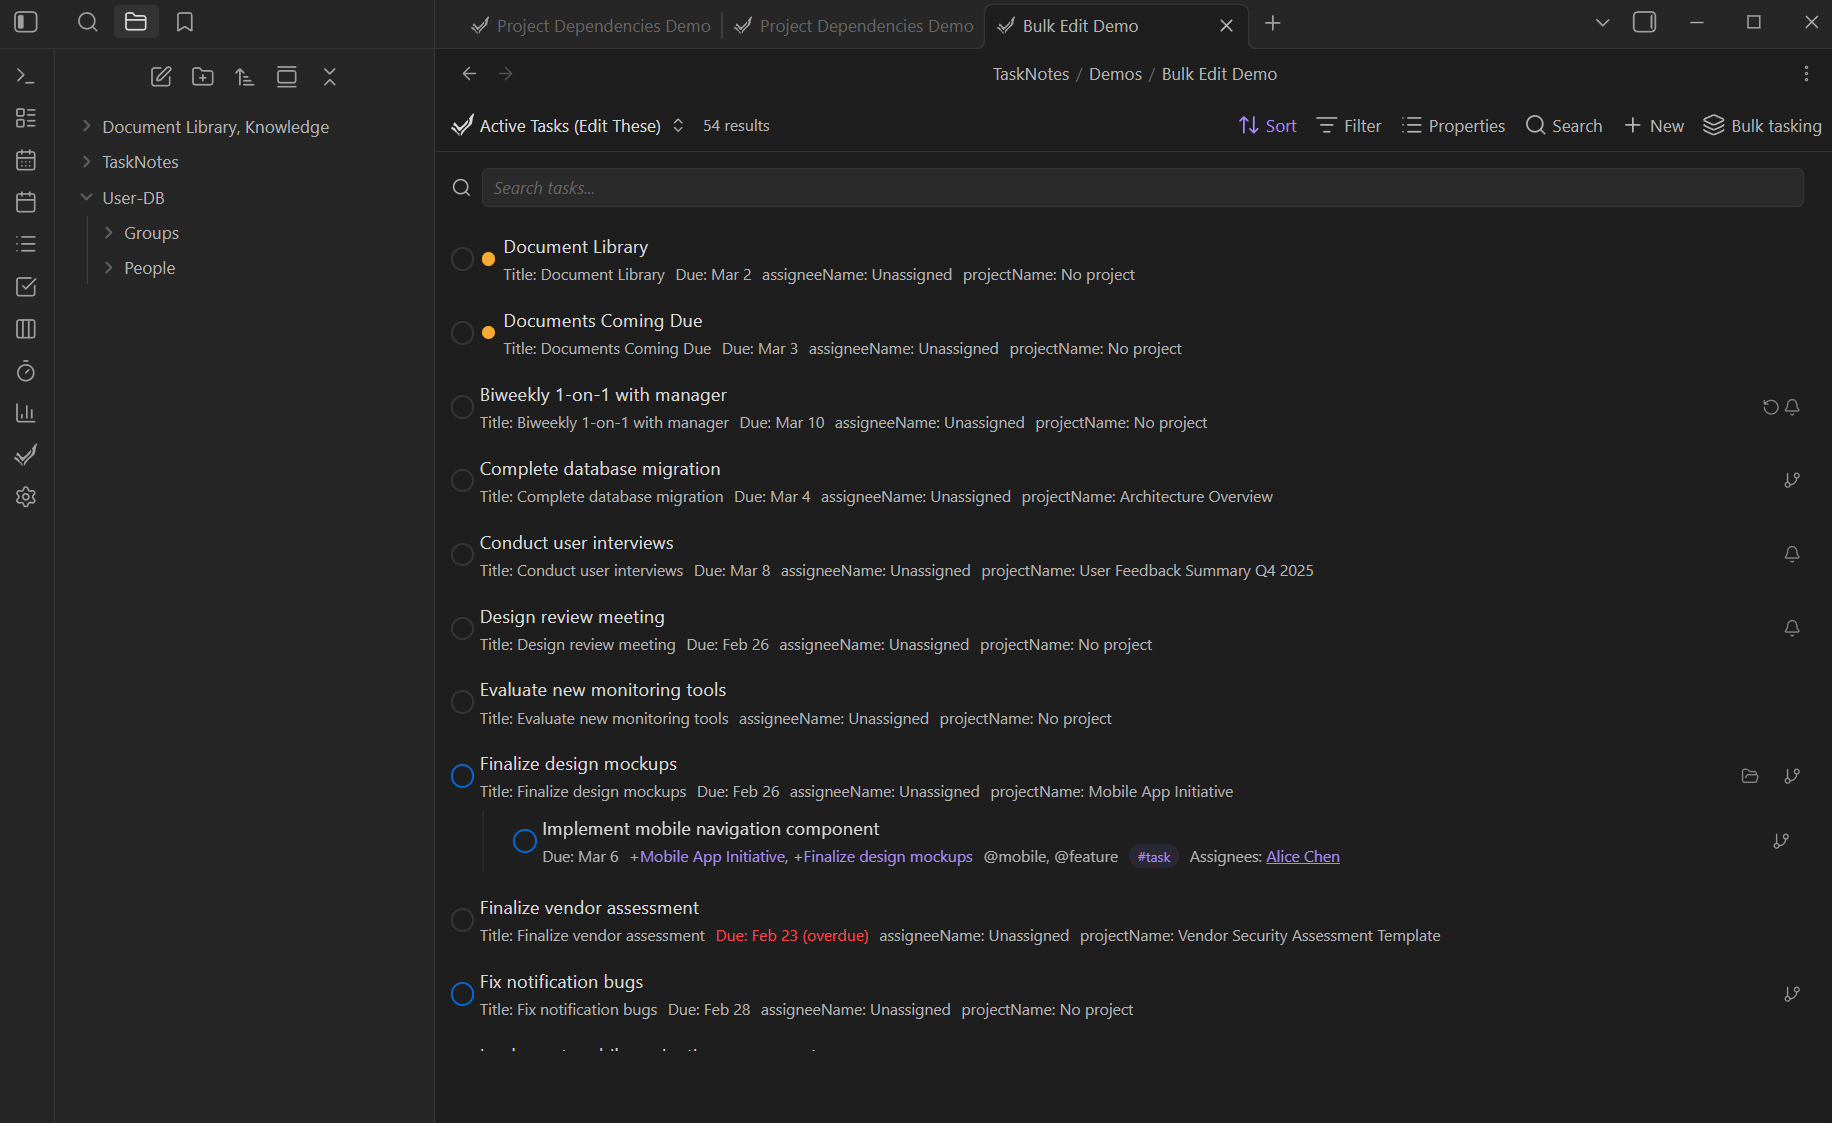
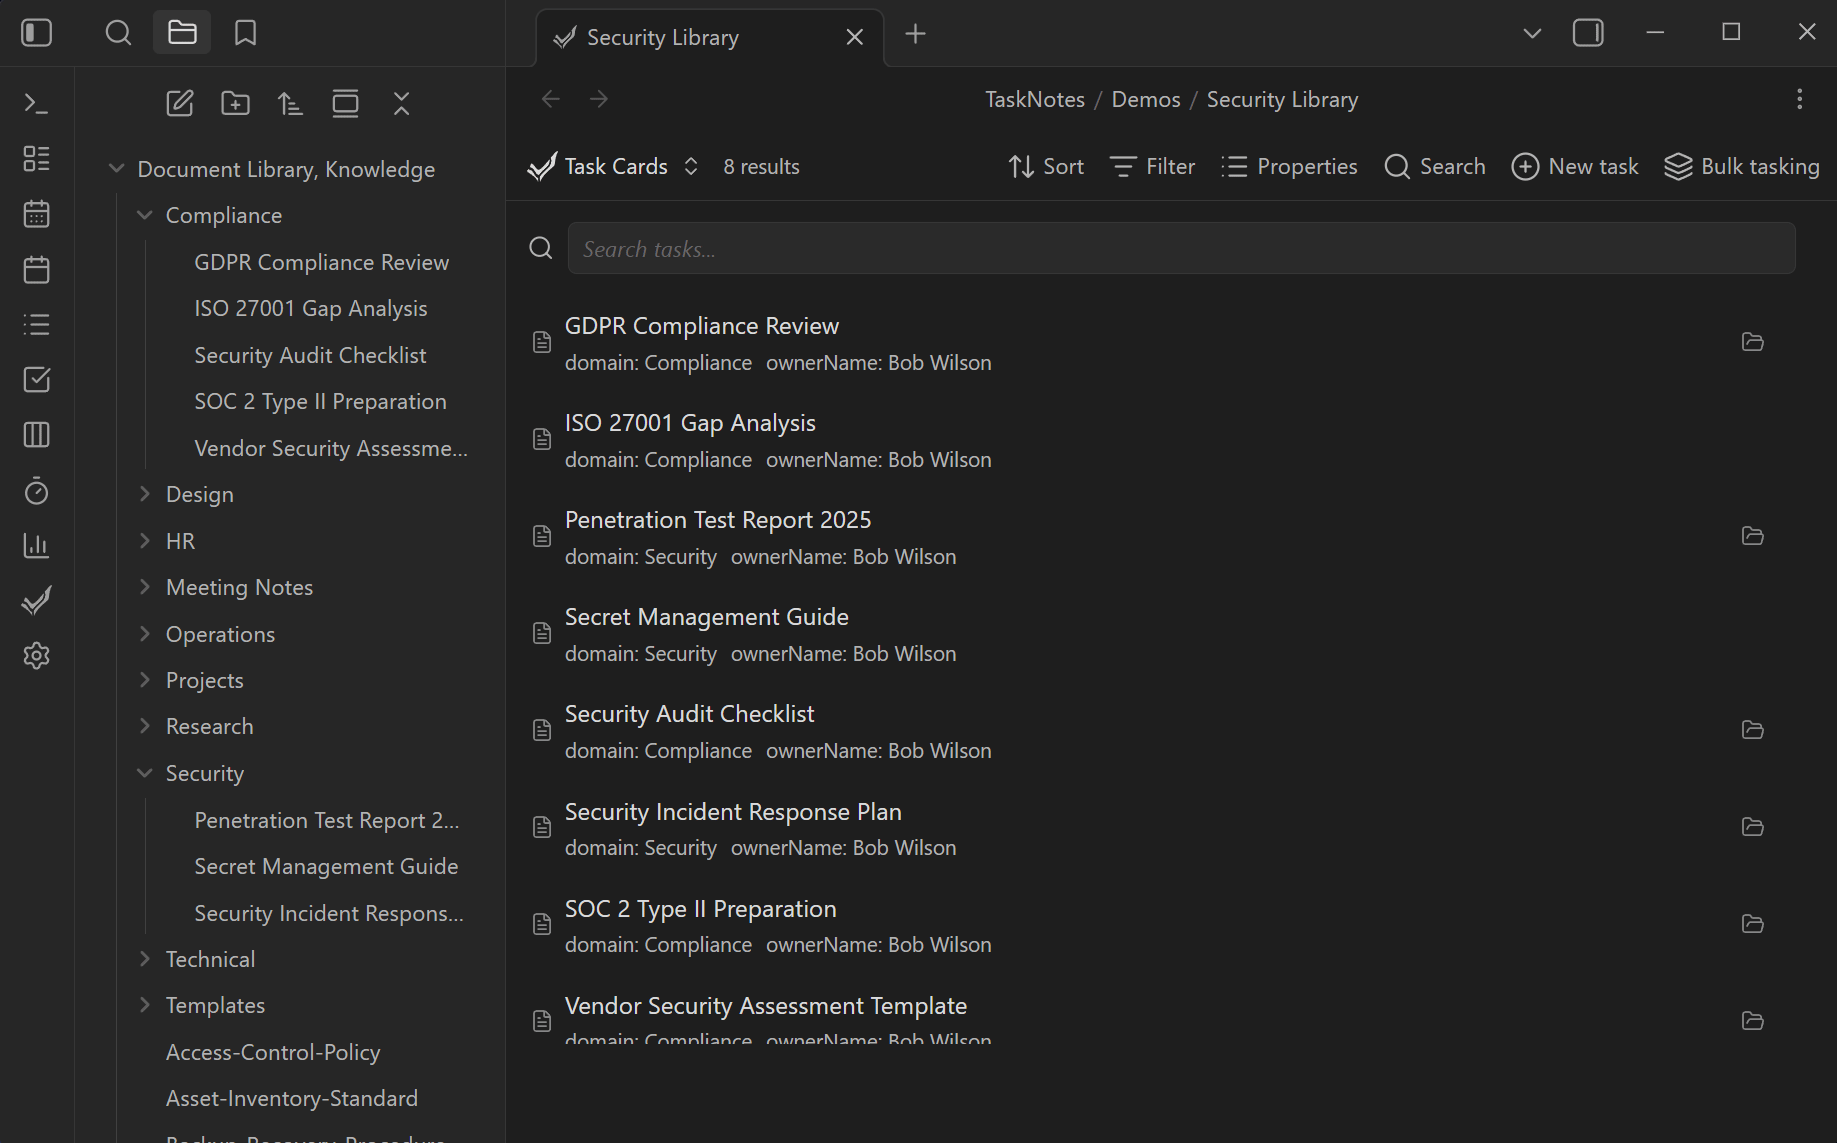
Bulk Tasking
TaskNotes lets you create, convert, and edit tasks in batch from any Bases view. The bulk tasking modal has three modes -- Convert, Edit, and Generate -- each designed for a different workflow. You can also bulk-task files directly from the file explorer.
Open the modal by clicking the Bulk tasking button in any Bases view toolbar, or by right-clicking files or folders in the file explorer.
The modal shows the items from the current view (or selection) and lets you pick a mode using tabs at the top: Convert, Edit, or Generate. A fourth tab, Defaults, appears when the modal is opened from a Bases view. The active tab expands to show its full label.
Convert Mode
Convert mode turns existing notes into tasks without creating new files. It adds task identification metadata (a frontmatter property or tag, depending on your settings) and optionally sets default values for status, priority, and creation date. The note's existing content and frontmatter are preserved.
What Convert does to each note:
- Adds task identification -- sets the property you configured in settings (e.g.,
task: true) or adds your task tag - Applies defaults (optional) -- sets status, priority, and
dateCreatedif they are not already present - Sets the creator (optional) -- auto-attributes the task to the current device's person note if device identity is configured
- Links to the view (optional) -- adds the
.basefile as a project link - Never overwrites -- existing frontmatter values are left untouched; only missing fields are added
Options:
| Option | Default | What it does |
|---|---|---|
| Apply defaults | On | Set status, priority, and dateCreated on notes that do not already have them |
| Link to base | On | Add the .base file as a wikilink in the projects field |
Before running, Convert shows a compatibility check: how many items are already tasks (will be skipped), how many are non-Markdown files (will be skipped), and how many will be converted.
Edit Mode Experimental
Edit mode is functional but still being refined. Expect improvements to field handling, validation, and undo support in upcoming releases.
Edit mode modifies frontmatter properties on files that are already tasks. Unlike Convert, it overwrites existing values with whatever you set. Files that are not tasks are skipped.
This is useful for batch updates: reschedule 20 tasks to next week, change the priority on everything in a view, or assign a group of tasks to someone.
Behavior:
- Only files that are already identified as tasks are edited
- Only fields you explicitly set are written -- blank fields in the action bar are left untouched on the target files
- Non-Markdown files and non-task files are skipped with a count shown in the pre-check
Assign from column
The "Assign from column" section at the bottom of the Edit tab lets you copy values from any column in the current view -- including formula columns -- into a frontmatter property on each file.
How it works:
- Select a source column from the dropdown. This lists all columns visible in the current view, plus any Bases formula columns defined in the
.basefile. - Type a target property name -- this is the frontmatter key that will be written to each file.
- Click Add to queue the assignment. You can add multiple assignments.
- Click Edit tasks to execute. Each file's source column value is read and written to the target property.
Use case example: You have last_assessed dates on compliance controls and want to compute next_assessment_due as one year later. Add a Bases formula in the .base file:
formulas:
  next_due: if(last_assessed, date(last_assessed) + '1y', null)
Then in the Edit tab, assign formula: next_due → next_assessment_due. Every file gets its computed date written to frontmatter.
Formula columns (prefixed with formula: in the dropdown) are computed by Bases at display time. "Assign from column" reads the computed value and writes it permanently to frontmatter. Regular property columns copy the existing frontmatter value as-is.
This writes values once. If the source data changes later, you need to run the assignment again. It does not set up a live sync.
Generate Mode Experimental
Generate mode is functional but still being refined. Expect improvements to duplicate detection, template support, and naming conventions in upcoming releases.
Generate mode creates a new task file for each item in the view. The source items stay unchanged. This is useful when you have a list of notes (meeting notes, project plans, reference documents) and want to spin off tasks linked back to them.
Each generated task:
- Gets its own Markdown file in your configured task folder
- Links back to the source note via the
projectsproperty (a wikilink to the original file) - Inherits any bulk values you set in the action bar (status, priority, dates, assignees, reminders, custom properties)
Options:
| Option | Default | What it does |
|---|---|---|
| Skip existing | On | If a task already links to a source note, skip it instead of creating a duplicate |
| Link to source | On | Add the source note as a wikilink in the new task's projects field |
The engine processes items in parallel (batches of 5) for speed, with a progress bar showing how many have been created.
The Action Bar
All three modes share an action bar at the top of the modal. It contains icon buttons for the most common task properties:
![]()
| Icon | Property | Picker |
|---|---|---|
| 📅 Calendar | Due date | Date picker with relative options (Today, Tomorrow, Next week, etc.) |
| 🕐 Calendar clock | Scheduled date | Date picker |
| ⭕ Circle | Status | Dropdown with your configured statuses |
| 🚩 Flag | Priority | Dropdown with your configured priorities |
| 🔔 Bell | Reminders | Reminder editor (stackable — you can add multiple reminders) |
| 👤 User | Assignee | Person and group picker |
Each icon shows a dot indicator when a value is set, and the tooltip updates to show the current value. For reminders, the dot shows a count badge.
If you set reminders but no dates, a warning appears -- relative reminders need a date to anchor to.
Values set in the action bar apply to every item in the batch. In Generate mode they are written to the new task files. In Convert mode they are added only if the field is missing. In Edit mode they overwrite the existing value.
Custom Properties in Bulk Operations
Below the action bar, a Remap properties section lets you add any frontmatter property to the batch. It uses the same PropertyPicker that appears in individual task modals.
💡 Type conversion
If a discovered property has a different type than expected (e.g., a text field that should be a date), the PropertyPicker offers type conversion options. You can convert values in bulk without manually editing each file.
Type a property name or search existing properties discovered from your task files. The picker shows:
- Property names with type badges (text, number, date, list, link)
- A "Map to" option that lets you assign a custom property to a standard task field (e.g., map
deadlineto the due date slot) - Properties already set in the batch, shown as editable rows below the picker
Custom properties are written to frontmatter alongside the standard task fields. In Generate and Convert modes they are added. In Edit mode they overwrite.
If the view you opened from has per-view field mappings configured, those mappings are pre-loaded into the Properties & Anchors section automatically.
Duplicate Detection
This feature works but has not been extensively tested across all edge cases.
In Generate mode, TaskNotes checks for existing tasks that already link to each source note before creating new ones. This prevents accidental duplicates when you run bulk generation more than once.
The detection works by scanning the projects field on all existing tasks:
- Compares wikilinks (
[[Note Name]]) and Markdown links ([text](path)) - Matches on full path or basename (handles vault reorganization)
- Case-insensitive comparison
If the Skip existing toggle is on (the default), items with existing linked tasks are skipped and counted separately in the results. You can turn this off if you intentionally want multiple tasks per source note.
When to Use Generate vs Convert
Generate and Convert solve different problems. Choose the one that matches your workflow:
For end-to-end examples, see Workflow Examples — Bulk Tasking from Meeting Notes.
Use Generate when you want to spin off tasks from reference material without changing the source notes. The source notes stay as they are (meeting notes, project plans, documents), and new task files are created in your tasks folder. Each generated task links back to its source via the projects field, creating a parent-child relationship. This is useful when:
- You have meeting notes and want to create action items from them
- You are reviewing a project plan and want to spin off individual tasks
- The source notes are not tasks themselves -- they are reference material that tasks relate to
After generating, you can see the relationship from either direction: open a source document and its Subtasks tab shows the generated tasks, or open a task and its Projects tab shows the source it came from.
Use Convert when the notes are the tasks and you want to manage them as tasks in place. Convert adds task identification metadata (a frontmatter property or tag) to existing notes so TaskNotes recognizes them. The notes stay where they are, keep their content, and gain task properties like status, priority, and dates. This is useful when:
- You have a folder of notes that each represent a piece of work to track
- You want to manage existing notes through TaskNotes views without duplicating them
- The notes themselves are the deliverables, not references to separate work
The key difference: Generate creates new files (tasks that link back to sources), while Convert marks existing files as tasks (no new files created). If you find yourself generating tasks that are essentially duplicates of the source notes, Convert is probably the better fit.
Convert Mode -- What Happens
The notes you select become tasks. No new files are created -- task metadata is added in place.
flowchart LR
    subgraph BEFORE[" Before "]
        direction TB
        B1[Meeting Notes]
        B2[Design Brief]
        B3[Bug Report]
    end

    subgraph AFTER[" After "]
        direction TB
        A1[Meeting Notes + task metadata]
        A2[Design Brief + task metadata]
        A3[Bug Report + task metadata]
    end

    B1 -->|add metadata| A1
    B2 -->|add metadata| A2
    B3 -->|add metadata| A3

    style BEFORE fill:#2a2a2a,stroke:#888,color:#ccc
    style AFTER fill:#1a2e1a,stroke:#3a9a5c,color:#ccc
    style A1 fill:#1a2e1a,stroke:#3a9a5c,color:#ccc
    style A2 fill:#1a2e1a,stroke:#3a9a5c,color:#ccc
    style A3 fill:#1a2e1a,stroke:#3a9a5c,color:#ccc
Same files, same locations, same content -- they just gain task properties so TaskNotes can track them.
Generate Mode -- What Happens
New task files are created and linked back to the source notes. The sources stay untouched.
flowchart TB
    subgraph BASE[" .base View "]
        V[Weekly Review view]
    end

    subgraph SOURCES[" Source Notes "]
        S1[Meeting Notes]
        S2[Design Brief]
        S3[Bug Report]
    end

    subgraph TASKS[" Generated Tasks "]
        T1[Meeting Notes Task]
        T2[Design Brief Task]
        T3[Bug Report Task]
    end

    V -.->|reads| S1
    V -.->|reads| S2
    V -.->|reads| S3

    S1 -->|generates| T1
    S2 -->|generates| T2
    S3 -->|generates| T3

    T1 -. projects link .-> S1
    T2 -. projects link .-> S2
    T3 -. projects link .-> S3

    style BASE fill:#2a2a2a,stroke:#888,color:#ccc
    style SOURCES fill:#2a2a2a,stroke:#888,color:#ccc
    style TASKS fill:#1a2233,stroke:#4a86c8,color:#ccc
    style T1 fill:#1a2233,stroke:#4a86c8,color:#ccc
    style T2 fill:#1a2233,stroke:#4a86c8,color:#ccc
    style T3 fill:#1a2233,stroke:#4a86c8,color:#ccc
    style V fill:#332a1a,stroke:#c87a2a,color:#ccc
The projects link creates a bidirectional relationship: open a source note and see its generated tasks in the Subtasks tab, or open a task and see which note it came from in the Projects tab.
💡 How the projects/subtasks relationship works
Generate mode relies on the projects field to connect tasks to source notes. When a generated task has projects: ["[[Meeting Note]]"], that meeting note becomes the task's project. Open the meeting note and its Subtasks tab shows all tasks generated from it. Open the task and its Projects tab shows the meeting note. This is the same linking model used throughout TaskNotes -- see Projects for the full explanation.
Convert mode does not create this relationship by default, because the note becomes the task itself. You can optionally link converted notes to the .base file they were converted from using the "Link to base" toggle.
See Workflows for practical examples of both approaches, including Bulk Tasking from Meeting Notes and Project-Centered Planning.
Universal Bases View Buttons
TaskNotes adds New task and Bulk tasking buttons to every Bases view toolbar, not just TaskNotes-registered view types. This means Table, Board, and any other native Bases view gets TaskNotes controls automatically.
The buttons appear next to Obsidian's built-in "New" button. They use the same styling as native toolbar items so they blend in.
ℹ How it works
A MutationObserver watches for new Bases toolbars appearing in the DOM. When a toolbar is detected, TaskNotes checks whether it belongs to a TaskNotes-registered view (which injects its own buttons) or a native view. Native views get the universal buttons injected. If a view switches from a native type to a TaskNotes type, the universal buttons are automatically removed to avoid duplicates.
Per-view control:
You can disable TaskNotes controls on specific views. Open the view's Configure panel (the gear icon in the Bases toolbar) and toggle Show toolbar buttons off. This writes showTaskNotesUI: false to that view's configuration in the .base file.
Right-click context menus:

On views with universal buttons, right-clicking a row or card shows a context menu:
- If the file is a task: the full task context menu (edit, complete, reschedule, etc.)
- If the file is not a task: "Convert to task" and "Open note" options
When converting via the context menu, you must set at least one property value (status, priority, date, etc.) for the file to become a recognized task. Simply opening and closing the edit modal without changes won't convert it.
Right-Click in the File Explorer
You do not need a Bases view to use bulk tasking. Right-click any file or folder in Obsidian's file explorer:
- Single file: "Edit task" (if it is a task) or "Convert to task" (if it is not)
- Multiple files: Select several files, right-click, and choose Bulk tasking (N files) to open the bulk modal with those files
- Folder: Right-click a folder and choose Bulk tasking (N files in folder) to include all Markdown files inside it
The modal opens without a Bases view context, so the Defaults tab is not available. Convert, Edit, and Generate modes all work normally.
Settings
These settings are in Settings > Features > Bases views:
| Setting | Default | Description |
|---|---|---|
| Bulk tasking button | On | Show the Bulk tasking button in Bases view toolbars |
| Universal view buttons | On | Show New task and Bulk tasking on all Bases views, not just TaskNotes view types |
| Default bulk mode | Generate | Which tab the bulk modal opens to by default (Convert, Edit, or Generate) |
Related
- Task Management for creating individual tasks
- Custom Properties for the PropertyPicker used in bulk operations
- Property Mapping for how views can use different property names
- Views for the Bases views that bulk tasking operates on